


Gravel bike guide for beginners: Have a great start with these 7 tips
You don’t need any special knowledge to get started with gravel biking. A gravel bike with the right frame size, the right tires, and a realistic assessment of your own routes are all you need to get started. In this article, we’ll explain what really matters when it comes to choosing a bike, tires, gear, route planning, and riding technique—and how to lease a gravel bike as a company bike.
The most important points at a glance.
What exactly is a gravel bike? A gravel bike is a bicycle with drop handlebars, wide tires, and a sturdy frame that performs equally well on asphalt and gravel.
Which gravel bike is best for beginners? In most cases, an all-around model with comfortable geometry, plenty of tire clearance, and mounting points for luggage.
What matters most when buying one? Frame size, tire clearance, and gear ratio—not weight.
What tires do I need? To start with, tires around 40 to 45 millimeters wide with a light tread pattern are a good all-around choice.
Do I need tubeless tires? Not necessarily, but there are many advantages when riding off-road: fewer flats and more comfort at low tire pressure.
What’s different about riding on gravel compared to a road bike? A looser grip on the handlebars, keeping your eyes ahead, and using the front brake less—on loose surfaces, technique matters more than strength.
Can you use a gravel bike as a company bike? Yes, gravel bikes are just as eligible for company bike leasing as city bikes or e-bikes.
Anyone riding on dirt roads over the weekend will see them everywhere these days: bikes with drop handlebars and wide knobby tires that perform just as well on asphalt as they do on gravel. This is no coincidence, but rather the biggest trend of recent years. According to figures from the trade association ZIV – The Bicycle Industry, one in ten non-motorized bikes sold in Germany in 2025 was a gravel bike—a year earlier, the figure was significantly lower. This means that gravel bikes now outsell road bikes and non-motorized mountain bikes combined. The reason is quite practical: a gravel bike handles routes that used to require two separate bikes.
Are you thinking about buying a gravel bike yourself? The following seven tips will help you get started with gravel biking.
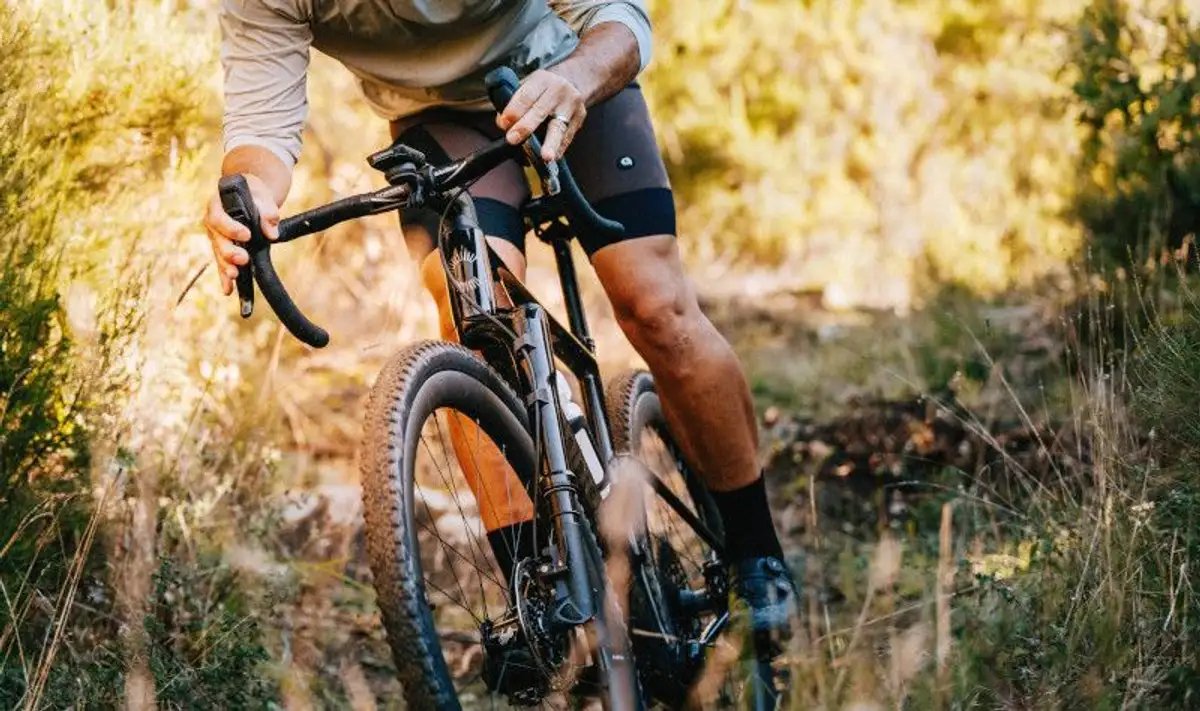
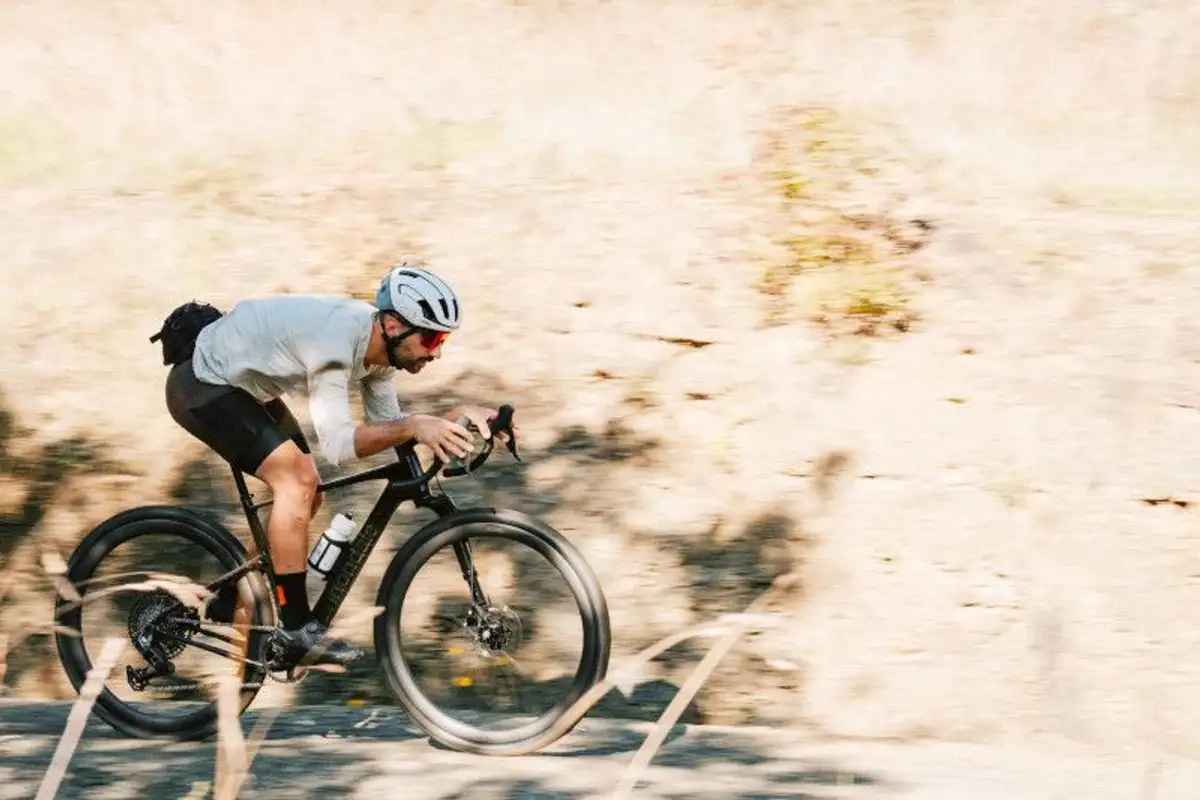
Tip 1: Choosing the right gravel bike.
Not all gravel bikes are created equal. What all gravel bikes have in common are drop handlebars, wide tires with tread, and a frame designed to handle terrain off the pavement. Beyond that, however, the designs vary significantly—from sporty racers to fully loaded touring bikes. So when you’re getting started with gravel bikes, the first question isn’t “Which model should I choose?” but rather “What kinds of trails will I actually be riding on?”
Here are the gravel bike categories to choose from:
All-around gravel bikes: These bikes offer the best balance of speed, comfort, and everyday practicality. They feature a moderately sporty riding position, ample tire clearance, and usually mounting points for fenders, racks, and water bottles. For the vast majority of beginners, they’re the right choice.
Race gravel bikes: These models are designed for speed and competition. They feature a lower, more stretched-out riding position, lighter wheels, and often fewer mounting points for luggage. If you already have road bike experience and are thinking about gravel racing, this is the right choice for you. For a pure beginner, however, they are unnecessarily uncompromising.
Adventure and bikepacking gravel bikes: Stability and cargo capacity are the top priorities here. A long wheelbase, ample tire clearance, and numerous mounting points make these bikes ideal travel companions for multi-day trips. However, they’re heavier and less responsive on a quick after-work ride.
Gravel e-bikes: These bikes combine gravel geometry with a motor that’s usually hidden. They’re a great option for anyone looking to cover longer distances, ride through hilly terrain, or commute. By the way: Under traffic laws, e-gravel bikes are classified as bicycles when assisted up to 25 km/h—unlike S-pedelecs, which are classified as motor vehicles.
Good to know: If you’re still unsure about how you’ll use your bike, an all-around gravel bike is your safest bet. It’s equally suited for gravel rides, commutes, and weekend tours—and in the first few months, you’ll figure out which direction you’re drawn to anyway.
By the way: If you’re torn between a gravel bike and a road bike, our road bike guide for beginners can help you make the decision.
Tip 2: Check the fit specifically for gravel riding.
With a gravel bike, the fit determines not only your comfort but also your control. On asphalt, a riding position that’s slightly too tall or too stretched out is fairly forgiving—but on loose terrain, you’ll immediately notice if your weight is distributed incorrectly or if your hands can’t find a secure grip on descents. That’s why getting advice from a specialty shop is the most important step before making a purchase.
These are the key factors to consider when choosing a gravel bike:
Standover height: When riding off-road, you’ll often find yourself dismounting unexpectedly—before a steep ramp, at a ford, or when the terrain suddenly becomes impassable. There should therefore be noticeable clearance between the top tube and your crotch. If you fall between two sizes, you’ll often find riding the smaller one more comfortable off-road.
Stack and Reach: These two frame measurements describe how high and how far forward the cockpit is positioned—and they reveal more about the riding position than the frame size in centimeters. A higher stack means a more upright posture, better visibility, and less strain on the wrists. That’s exactly what most beginners want.
Handlebar width and flare: Many gravel bikes come with wider-than-usual handlebars, with the lower sections flared outward. This so-called “flare” provides more leverage and a more stable grip for your hands on rough sections. How much flare you choose is a matter of personal preference—try out several options, as they significantly affect ergonomics.
Stem Length: A slightly shorter stem makes the bike more maneuverable off-road and takes pressure off your upper body. It’s also the most affordable component you can use to readjust your riding position if the bike feels too stretched out after the first few weeks.
Important: Don’t limit your test ride to the parking lot in front of the store. Only on unpaved terrain will you be able to tell whether you’re comfortable on the lower handlebars, whether the clearance is sufficient for quick dismounting, and whether the bike stays stable when it hits bumps. Ask the specialty store specifically for a longer test ride or to borrow a bike for the weekend.
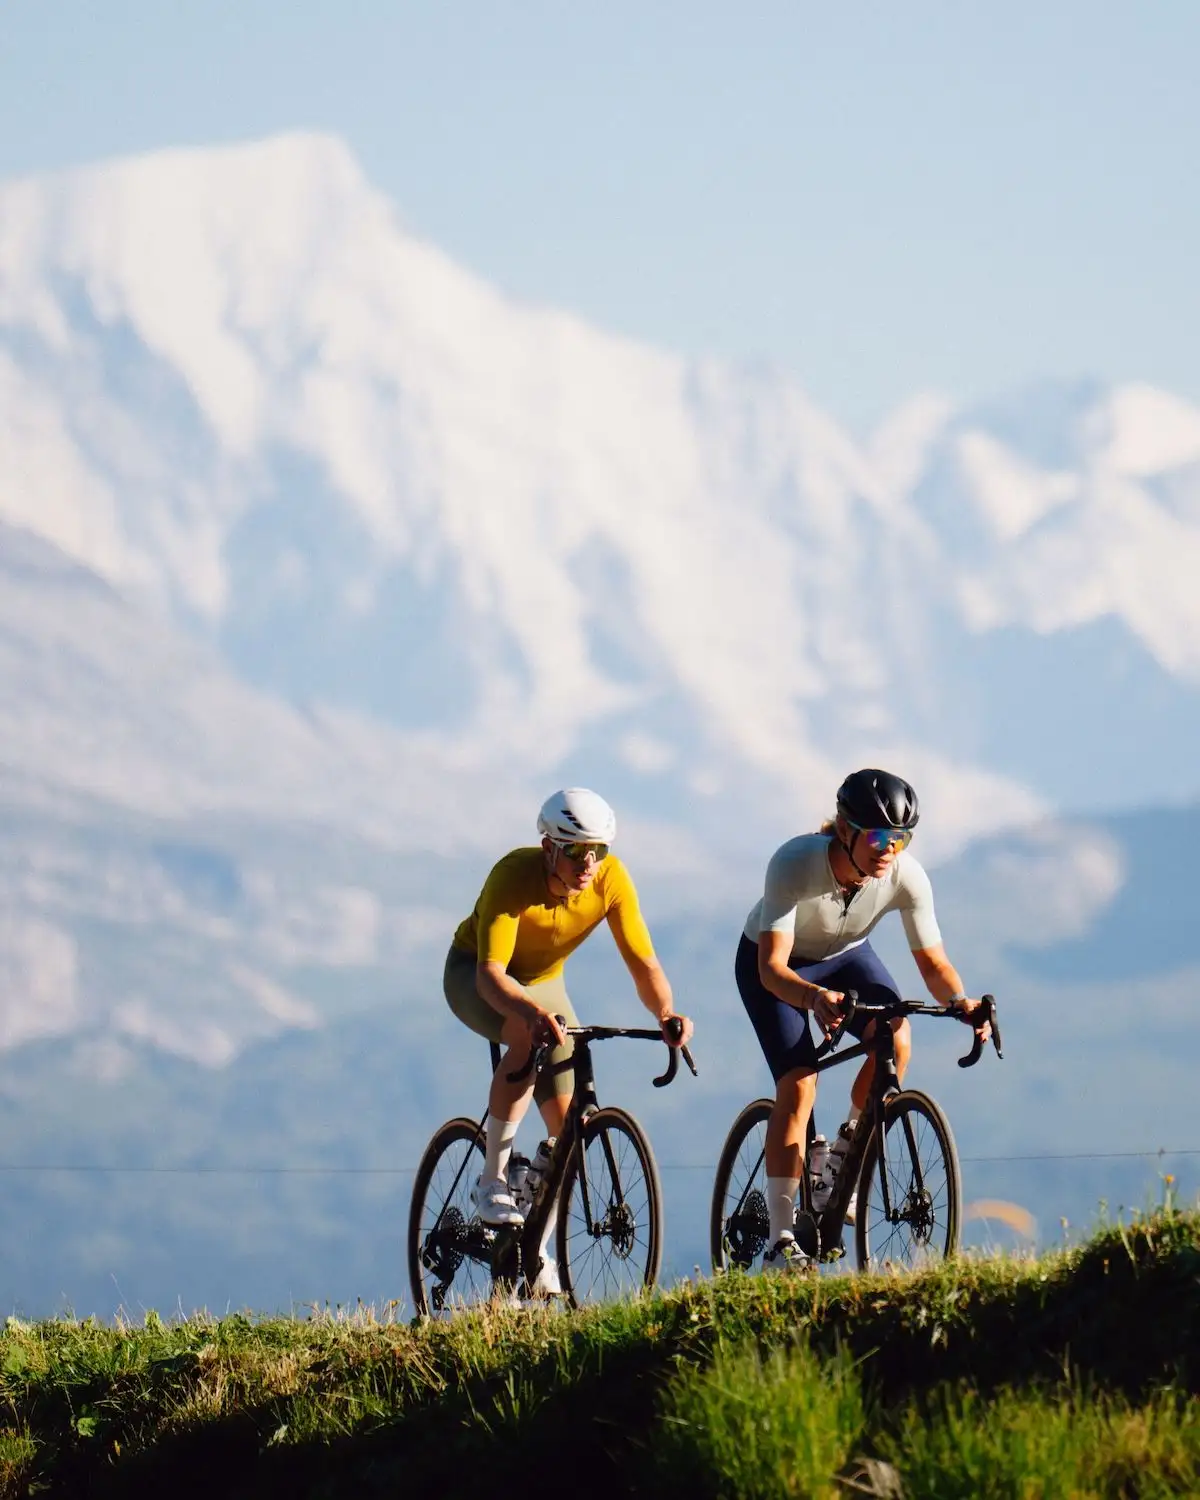
Tip 3: The tires are the most important factor.
No other component changes the character of a gravel bike as much as the tires. Width, tread pattern, and tire pressure determine how fast, how comfortably, and how safely the bike rides on a given surface—and all for a relatively small investment. If you want to customize your gravel bike later on, this is where you should start—not with the wheels or drivetrain.
Here are some points to keep in mind when choosing tires:
Tire width: For those new to gravel biking, a width of around 40 to 45 millimeters is a solid all-around choice. Narrower tires around 35 millimeters roll more easily on asphalt, while wider tires starting at 47 millimeters offer significantly more stability and grip on rough gravel. It’s important not to max out the frame’s tire clearance—you should leave a little room for mud and rocks.
The Tread Pattern: A fine, medium-depth tread pattern with more pronounced shoulder knobs is the classic compromise. It rolls well on firm surfaces and provides traction in corners on loose terrain. Tires with deep, chunky tread are only practical if you’re riding primarily on soft forest and meadow trails.
Tire Pressure: This is where beginners most often make a mistake by using the same pressure settings as on a road bike. On gravel, significantly lower pressure provides more traction and comfort without causing the tire to bottom out. The ideal tire pressure for a gravel bike is usually between 1.5 and 3.0 bar. Adjust the pressure in 0.2-bar increments to find your ideal setting, and make a note of what worked best on which surfaces.
Seasonal changes: Experienced gravel riders keep two sets of tires on hand—one fast set for dry months and a coarser set for winter. This isn’t a must, but it’s significantly cheaper than a second wheel set.
Tubeless tires on a gravel bike: Is it worth it?
Tubeless means that the tire and rim are sealed without an inner tube. Instead of an inner tube, a sealant inside the tire ensures that small punctures seal themselves while you’re riding. The off-road benefits are clear: First, it eliminates so-called “snakebites”—that is, punctures caused by sharp edges. Second, you can ride with lower tire pressure, which significantly improves traction and comfort on gravel. Third, the sealant handles most small thorns and splinters without requiring you to stop. However, it does require more effort: Installation is trickier than with an inner tube, the sealant must be checked and refilled regularly, and larger holes require a repair plug. That’s why you should always carry a spare inner tube—it’s your backup solution when the sealant reaches its limits.
Our conclusion for beginners: If you ride a lot on gravel, you’ll definitely benefit from tubeless tires. If you mainly use your gravel bike for everyday riding and on asphalt, you can stick with inner tubes without any problems.
Tip 4: Adapt the translation to your own terrain.
Riders coming from road bikes often underestimate just how steep dirt and forest trails can get. Unlike paved roads, these trails don’t follow a set route but often climb straight up the slope—often with loose surface, which makes pedaling even harder. That’s exactly why the gear ratio is a more important factor when buying a gravel bike than the frame material or the total weight.
Basically, there are two drivetrain options to choose from. Single-chainring setups with just one chainring up front are easier to use, less prone to getting clogged with dirt, and eliminate the risk of a derailleur jamming. On the other hand, the gear gaps are larger, which can be a nuisance on flat paved sections. Double drivetrains offer finer gear ratios and a higher speed on descents, but in return require slightly more maintenance. Both options work—the key is that the lightest gear is light enough.
As a rough guideline: If you can stay seated and pedal at a steady pace on a steep, loose climb without having to stand up, the gear ratio is right. If, on the other hand, you have to push the bike constantly, frustration is inevitable. Test this on a real incline during your test ride, not on flat terrain.
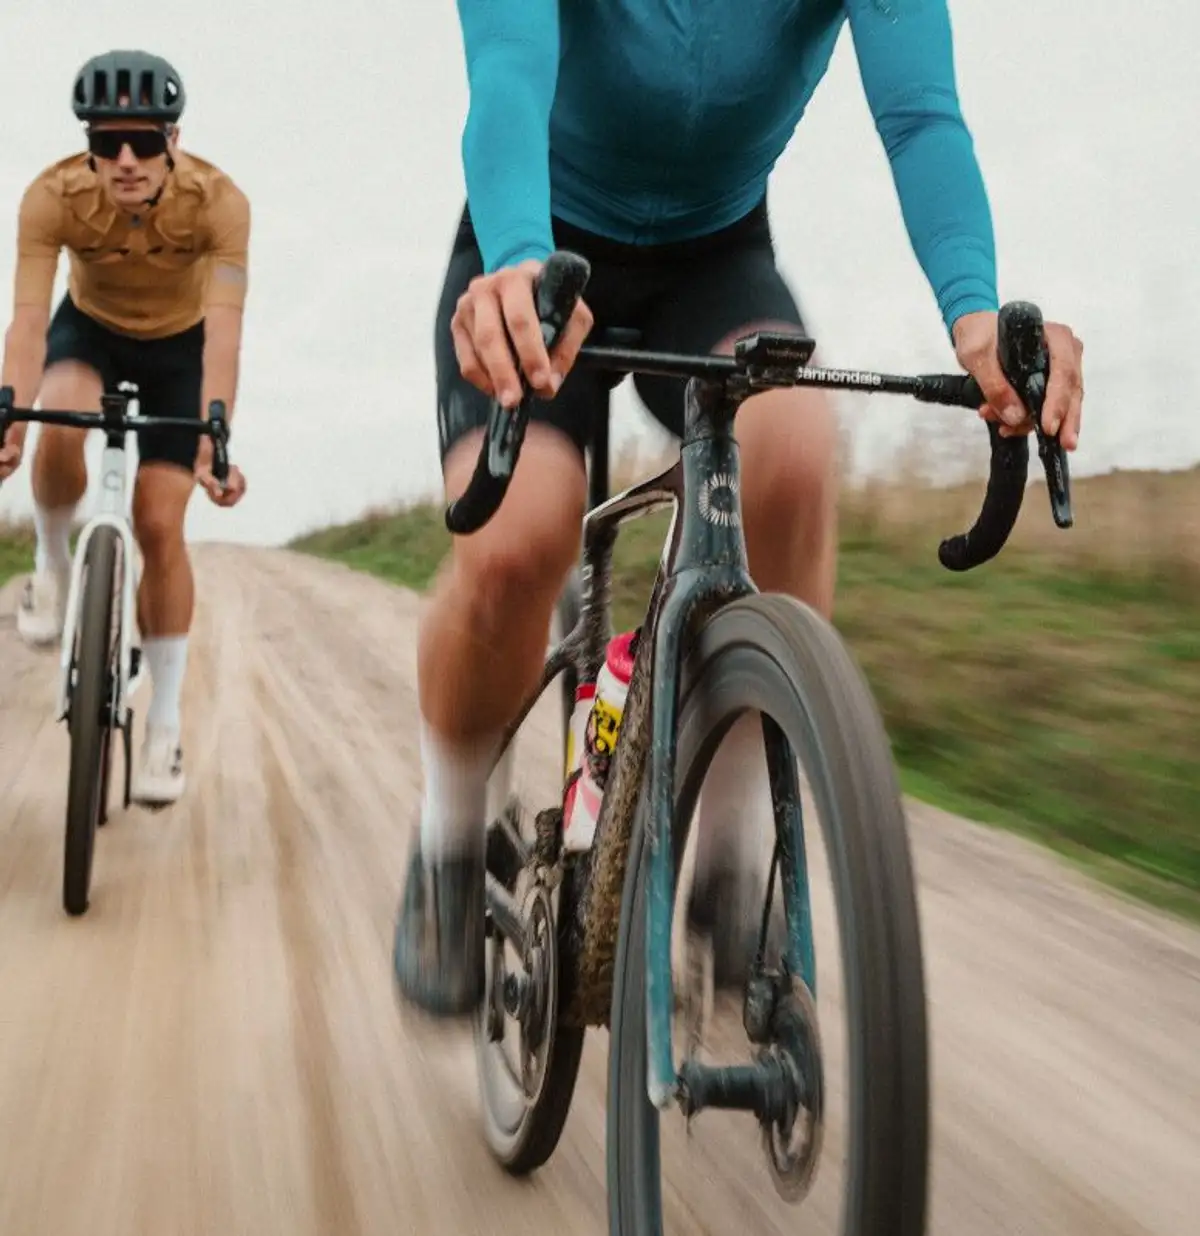
Tip 5: Pack for self-catering.
On a road bike ride, the next gas station is rarely far away. With gravel biking, it’s a different story: field and forest trails lead you away from civilization, cell service becomes spotty, and the next town can easily be ten kilometers away. Your gear should therefore focus less on style and more on self-sufficiency.
This gear is a must for every gravel ride:
Tools and Spare Parts: Spare inner tube, tire lever, mini-tool with chain tool, chain lock, and pump. The chain tool isn’t a luxury—without it, a broken chain means a long walk.
Navigation: A GPS device or an app with downloaded offline maps is worth its weight in gold. That’s because there usually aren’t any road signs in the woods.
Hydration: Bring more to drink than you would on a road ride, plus energy bars or a hearty snack. Two bottle cages are standard; many gravel bikes offer mounts for a third bottle on the fork.
Clothing for changing weather: A lightweight wind vest or rain jacket weighs almost nothing and makes all the difference when you’re drenched in sweat and hit by the wind after a descent.
On your body: A helmet, cycling shorts with a padded seat, gloves, and glasses to protect against dust and flying debris are mandatory. For shoes, an MTB clipless system with a sole suitable for walking is recommended. The reason: On gravel tours, you’ll be pushing your bike more often than on a road bike.
Important: Bikepacking bags for the handlebars, frame, and saddle are something to buy later. For the first few months, a saddle bag and the back pockets of your jersey are more than enough. Don’t buy bags until you know what kinds of rides you’ll actually be doing.
Where are you actually allowed to ride a gravel bike?
Gravel bikes straddle the line between road and off-road riding—and thus fall under different sets of regulations. On public roads, the same requirements apply as for any other bicycle: two independent brakes, a bell, front and rear lights, and reflectors. The lights may be battery-powered, but they must be carried on the bike and turned on when visibility is poor.
In the forest, the rules are more nuanced: The right of public access is a state matter and varies from state to state. Some states allow cycling on all paved paths, while others require a minimum width or restrict it to designated routes. Therefore, be sure to check the regulations in your region before planning your routes.
And regardless of the legal situation, the following applies: Hikers have the right of way, wildlife needs peace and quiet, and soft, wet ground can be damaged. Ring your bell early, slow down, and greet others friendly—it costs nothing and helps preserve access to these beautiful trails.
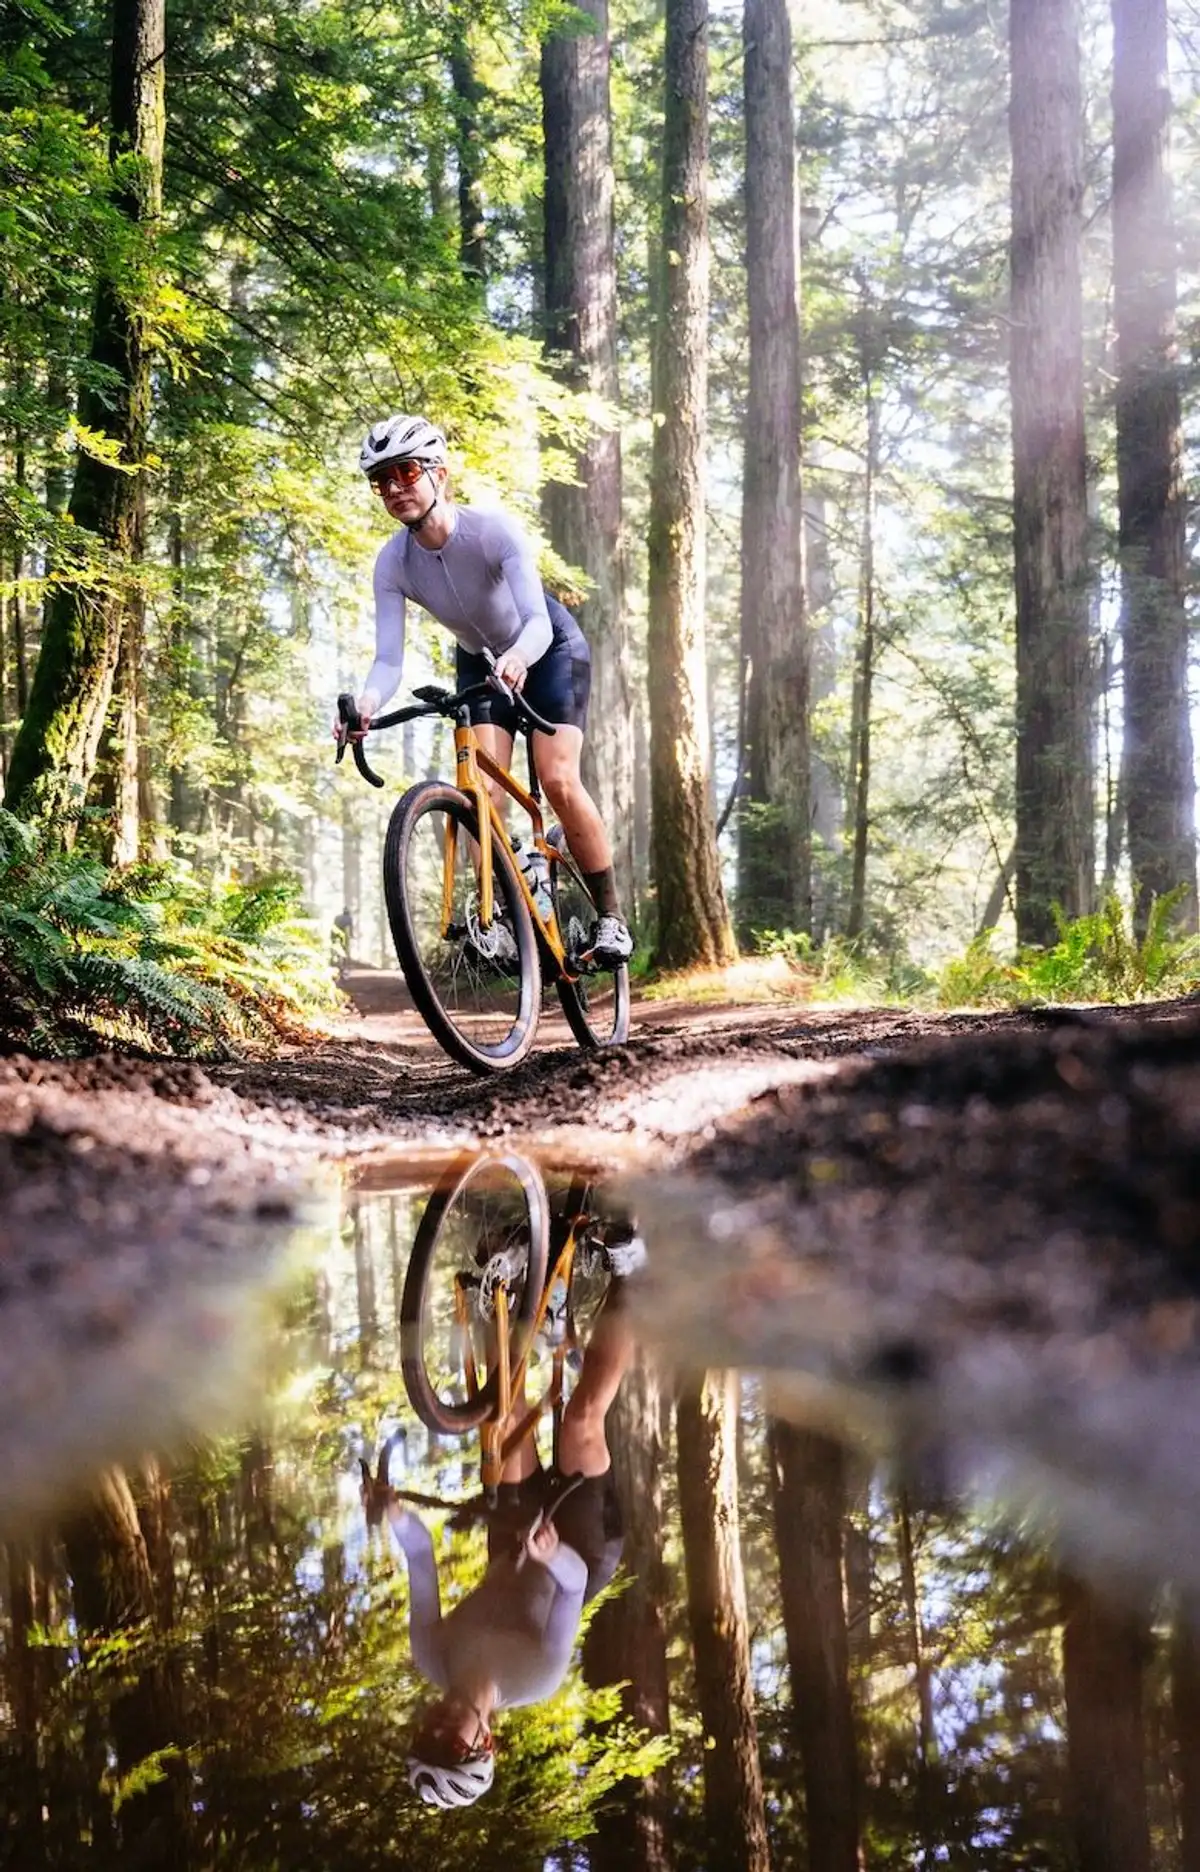
Tip 6: Learn riding techniques on loose terrain.
On gravel, it’s not strength that matters, but how you handle the bike. That’s because the terrain is unpredictable: loose stones, damp roots, and rutted tracks behave differently than asphalt. The good news is that you can master the most important basics in just a few rides—if you consciously practice them instead of just riding.
Gravel beginners should practice these techniques early on:
Stay relaxed: Don’t grip the handlebars too tightly. The bike needs to be able to work beneath you. If you tense up, every bump is transmitted directly to your body, and you lose control of your line.
Ride with your hands on the lower part of the handlebars: The lower center of gravity and direct access to the brake levers provide significantly more confidence than the upper grip position.
Brake earlier and more gradually: On loose surfaces, the front wheel locks up quickly. Shift more braking force to the rear and brake before the turn, not into it.
Look far ahead: Keep your eyes on the line you want to ride, not on the rock right in front of the front wheel.
Take the weight off the bike: On rough sections, rise slightly out of the saddle and use your legs and arms as suspension. This protects both your equipment and your back.
Why gravel rides take longer than you think.
A common beginner’s mistake is to apply the same distance you’re used to riding on a road bike directly to gravel riding. On loose surfaces, on climbs with poor road conditions, and when riding into a headwind across open fields, your average speed drops significantly—so you’ll need noticeably more time to cover the same distance. Therefore, start by riding loops instead of point-to-point routes so you can cut the ride short at any time. Also, check the route in advance on a mapping app, but don’t rely on it blindly—paths may be closed, overgrown, or simply impassable. Another tip: Consider elevation gain and terrain together. 50 kilometers on firm gravel and 50 kilometers on root-covered forest trails with 800 meters of elevation gain are two very different experiences.
Tip 7: Lease a gravel bike as a company bike.
With company bike leasing, it doesn’t matter whether you choose a city bike, a road bike, or a gravel bike—in principle, any bike can be leased. The requirements are different: Your employer must offer the program, and you must be employed in a position subject to social security contributions. Minijobs are generally not eligible. Payment is usually made through salary conversion from your gross salary, and personal use is taxed at 0.25 percent of the list price per month.
For more information on company bike leasing, see the article “Company Bike Leasing - What is it?”
The best way to figure out the monthly payments and savings for your dream bike is to use our leasing calculator.
The process is straightforward: You select your bike at a participating retailer—including advice on fit, tires, and gear ratios—and your employer signs the leasing contract. The term is generally 36 months. After that, you have three options: buy the bike, return it, or use the order code to lease a new one right away.
One aspect that’s particularly important for gravel bikes is Lease a Bike’s comprehensive coverage. In addition to theft and damage protection, it includes a Europe-wide mobility guarantee as well as annual budgets for inspections and wear-and-tear parts. Gravel, wet conditions, and mud take a much heavier toll on the drivetrain than asphalt: chains, cassettes, and brake pads wear out faster, and tires also wear out more quickly. Anyone who rides off-road frequently should therefore choose the wear level carefully.
Conclusion.
With gravel bikes, it's all about the setup.
Getting started with gravel biking isn’t a matter of budget—and certainly not of fitness level. It depends on whether the bike, tires, and route are a good match. A race model on rough forest trails is just as frustrating as a heavy adventure frame on a fast after-work ride. And even the best frame is of little use if the tire pressure is set for a road bike ride.
But if you honestly assess the trails right outside your door, focus on ground clearance and riding position when buying, and experiment with tire pressure during the first few weeks, you’ll have the hardest part behind you. Everything else comes with experience: your line choice becomes more confident, the trails can get rougher, and eventually it will become clear on its own whether you’re headed toward a bikepacking weekend, a gravel race, or a relaxed gravel ride.
Checklist: Ready for your first gravel bike season?
Do I know what kinds of trails I actually want to ride—gravel, forest, everyday commuting, or bikepacking?
Have I test-ridden the bike on unpaved surfaces, not just in front of the store?
Is there enough clearance between the top tube and my crotch to dismount quickly?
Does the tire width suit the trails I’ll be riding—and is there enough tire clearance in the frame?
Have I tested and noted my tire pressure for different surfaces?
Is the lightest gear light enough for the steepest climb on my local loop?
Do I have a spare tube, tire levers, a mini-tool, a chain lock, and a pump with me?
Do I have an offline map on my device, and is the battery charged?
Do I know the rules for biking in the woods in my state?
Does my employer offer a company bike leasing program—and have I calculated the monthly payment for my leased gravel bike?
FAQ: Frequently asked questions about getting started with gravel bikes.

Our author
Anna Veldtrup
Anna Veldtrup has been a team leader in the Customer Service and Claims Management department at Lease a Bike since 2024, and she and her team work every day to ensure the highest level of customer satisfaction and smooth operations. She loves nothing more than riding her gravel bike in nature.