


Road bike guide for beginners: Have a great start with these 7 tips
You don’t need a professional setup to get started with road biking. A road bike with the right frame size, a manageable set of basic gear, and realistic first rides are more than enough. In this article, we’ll explain what really matters when it comes to choosing a bike, accessories, route planning, and training—and how to lease a road bike as a company bike.
The most important points at a glance.
Which road bike is best for beginners? In most cases, an endurance model with comfortable geometry, disc brakes, and wider tires is a good choice.
What matters most when buying a bike? Frame size and riding position—not the last few grams.
Aluminum or carbon? There’s a lot to be said for aluminum when starting out: the material is sturdy, durable, and usually comes with better features for the same budget.
What accessories do I need? A helmet, cycling shorts with a pad, a jersey, gloves, glasses, water bottles, a spare tube, a mini tool, a pump, and a light should all be considered when starting out on a road bike.
Do I have to use clipless pedals right away? No. Learn the riding technique first, then move on to the pedal system.
How much training should I do at the beginning? Two to three easy rides per week are a very good start.
Can I use a road bike as a company bike? Yes, road bikes can be leased through a company bike leasing program just like city bikes or e-bikes.
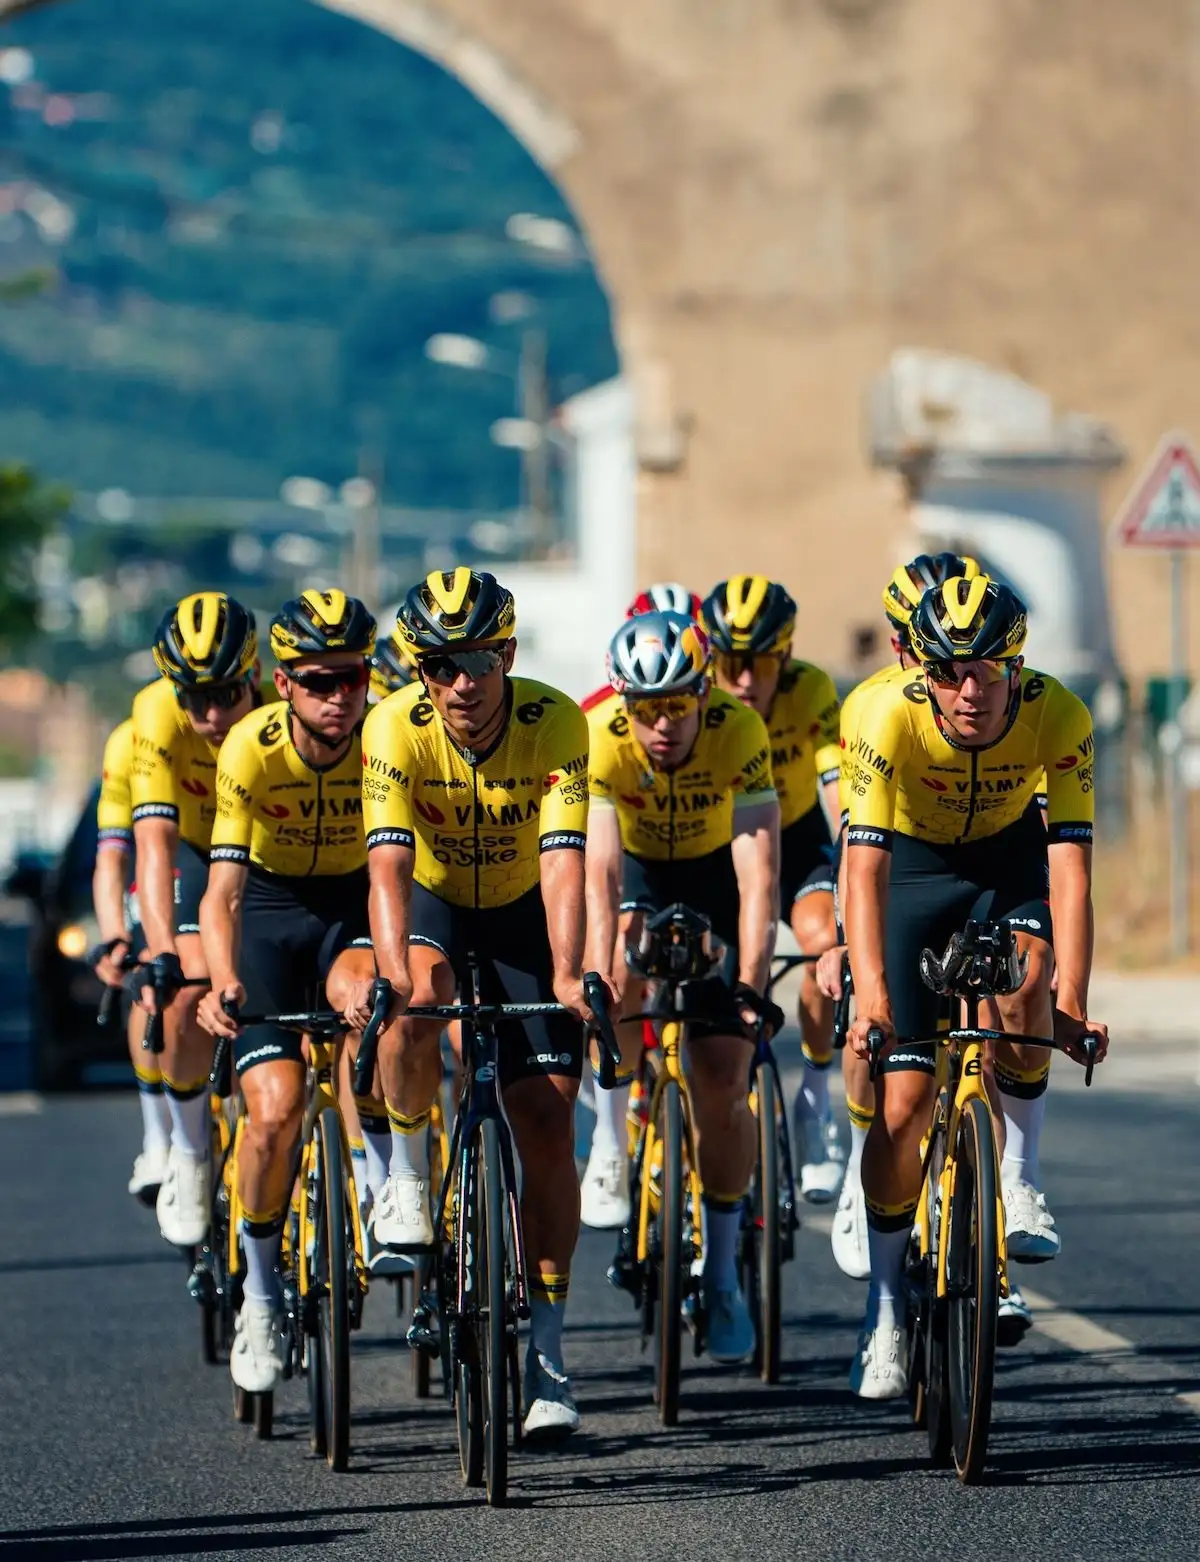
Sunday morning, 6:00 a.m., a dozen road bikes gathered in a group in front of the bakery. In recent years, road cycling has evolved from a niche sport into a widespread phenomenon. There are several reasons for this: Professional cycling is once again filling TV slots and social media feeds. At the same time, the road bike has become a lifestyle statement—from the post-ride coffee ritual to choosing a jersey color that matches the frame. And platforms like Strava and Zwift have turned a solitary endurance sport into a social activity: riders compare segments, arrange group rides, and train together in their living rooms during the winter. In short: road cycling is “in.”
But anyone new to road cycling has a lot of questions. That’s why we’ve put together the following tips to help you get started.
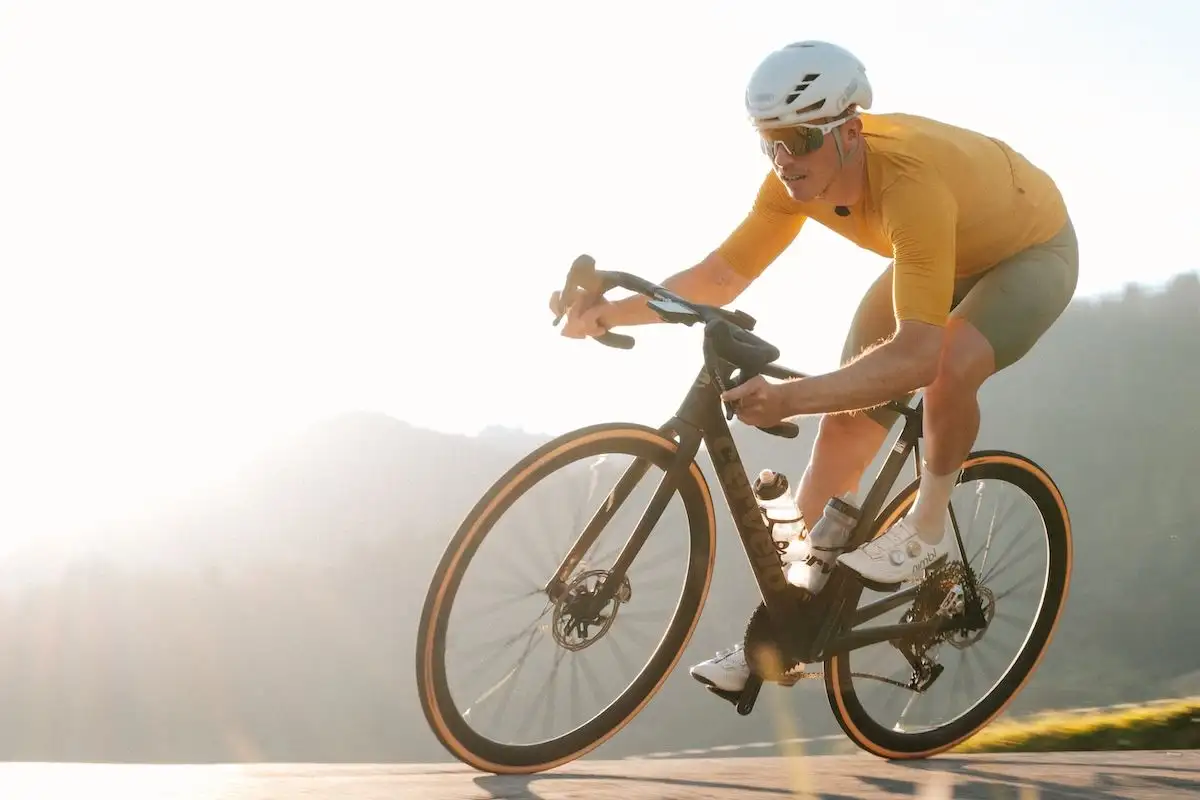
Tip 1: Which road bike is right for you?
Not all road bikes are the same. The term encompasses a wide range of designs—from aerodynamically optimized race bikes to comfortable touring bikes. So when you’re starting out with road bikes, the first question isn’t “Which model should I choose?” but rather “What do I actually need my new road bike for?”
Here are the different categories of road bikes to choose from:
Race and Aero Road Bikes: These road bikes feature a compact, low riding position designed for speed and agility. They perform exceptionally well on good roads and in competition. However, they can be hard on the back and neck during long rides.
Endurance and touring road bikes: These road bikes feature a higher cockpit, smoother steering, a longer wheelbase, and more tire clearance. This makes them the best compromise for almost all beginners—not least because they’re suitable for both commuting and long days in the saddle.
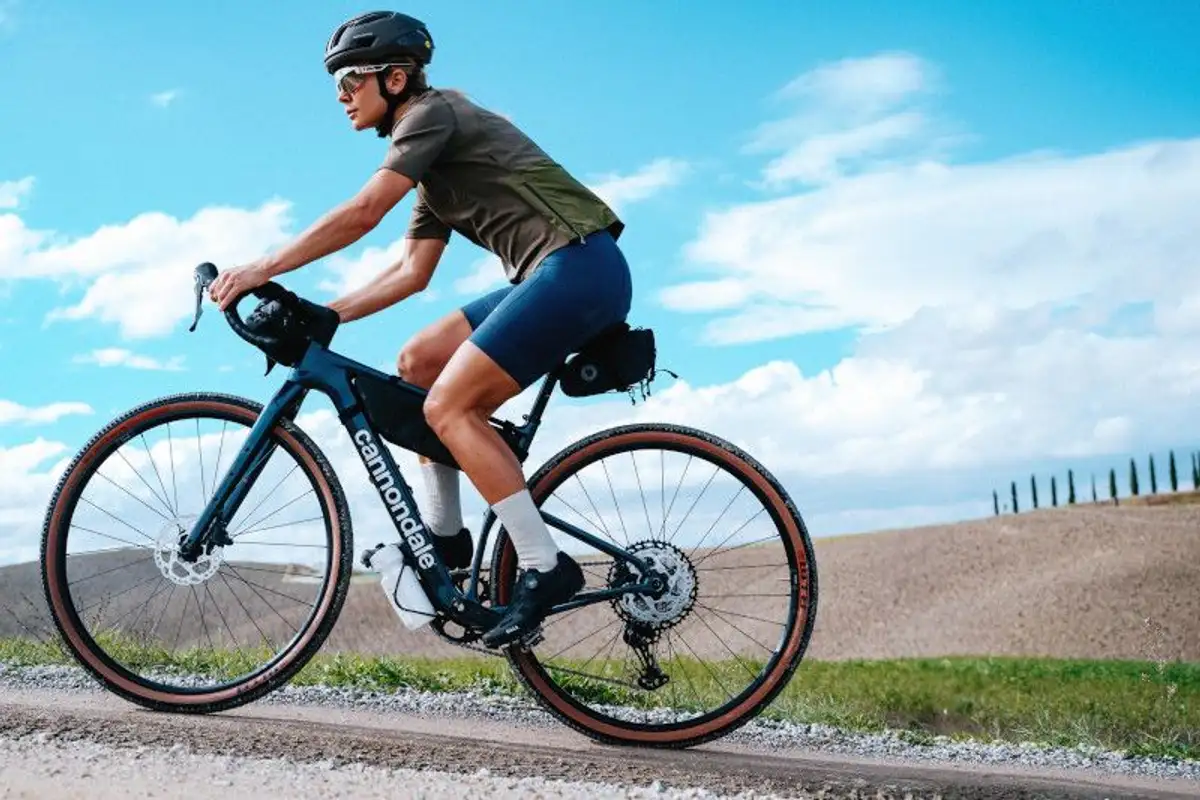
All-road and gravel road bikes: These road bikes feature wide, knobby tires for gravel and forest trails. They’re a good choice if you don’t want to limit yourself to asphalt. By the way: You can find our comprehensive guides on gravel bikes and tips for getting started with gravel biking here.
Triathlon and time trial road bikes: These are aerodynamically optimized competition machines. We recommend these bikes for more advanced riders.
Good to know: If you’re still unsure about how you’ll use your bike, an Endurance road bike is your safest bet. It’s equally suited for after-work rides, bike tours, and commuting—and in the first few months, you’ll figure out which direction you’re drawn toward anyway. By the way: You can find our comprehensive overview of road bikes as a bike type in the article “Road Bikes Explained.”
Tip 2: Be sure to take frame size seriously.
Frame size is the most important factor when choosing a bike. After all, even an expensive road bike isn’t fun if it doesn’t fit. In the worst case, an ill-fitting road bike can lead to neck tension, numb hands, or knee problems.
The key measurement here is inseam length, supplemented by height, torso length, and arm length. Online charts offer a starting point, but they are no substitute for professional advice: Two people of the same height may need different frame sizes because their proportions differ. So take the time to test-sit and test-ride the bike at a specialty shop—especially when buying your first road bike.
Next comes the fine-tuning of the saddle height, saddle position, and handlebar height. Always change just one thing at a time and ride with the adjustment for a few rides before making further changes. If you adjust everything at once, you won’t know in the end what made the difference.
Note: A professional bike fitting costs extra, but it often prevents you from making the wrong purchases when it comes to saddles, stems, and handlebars. If you have back problems or old injuries, it’s almost always the better investment.
Tip 3: When it comes to materials, prioritize practicality over prestige.
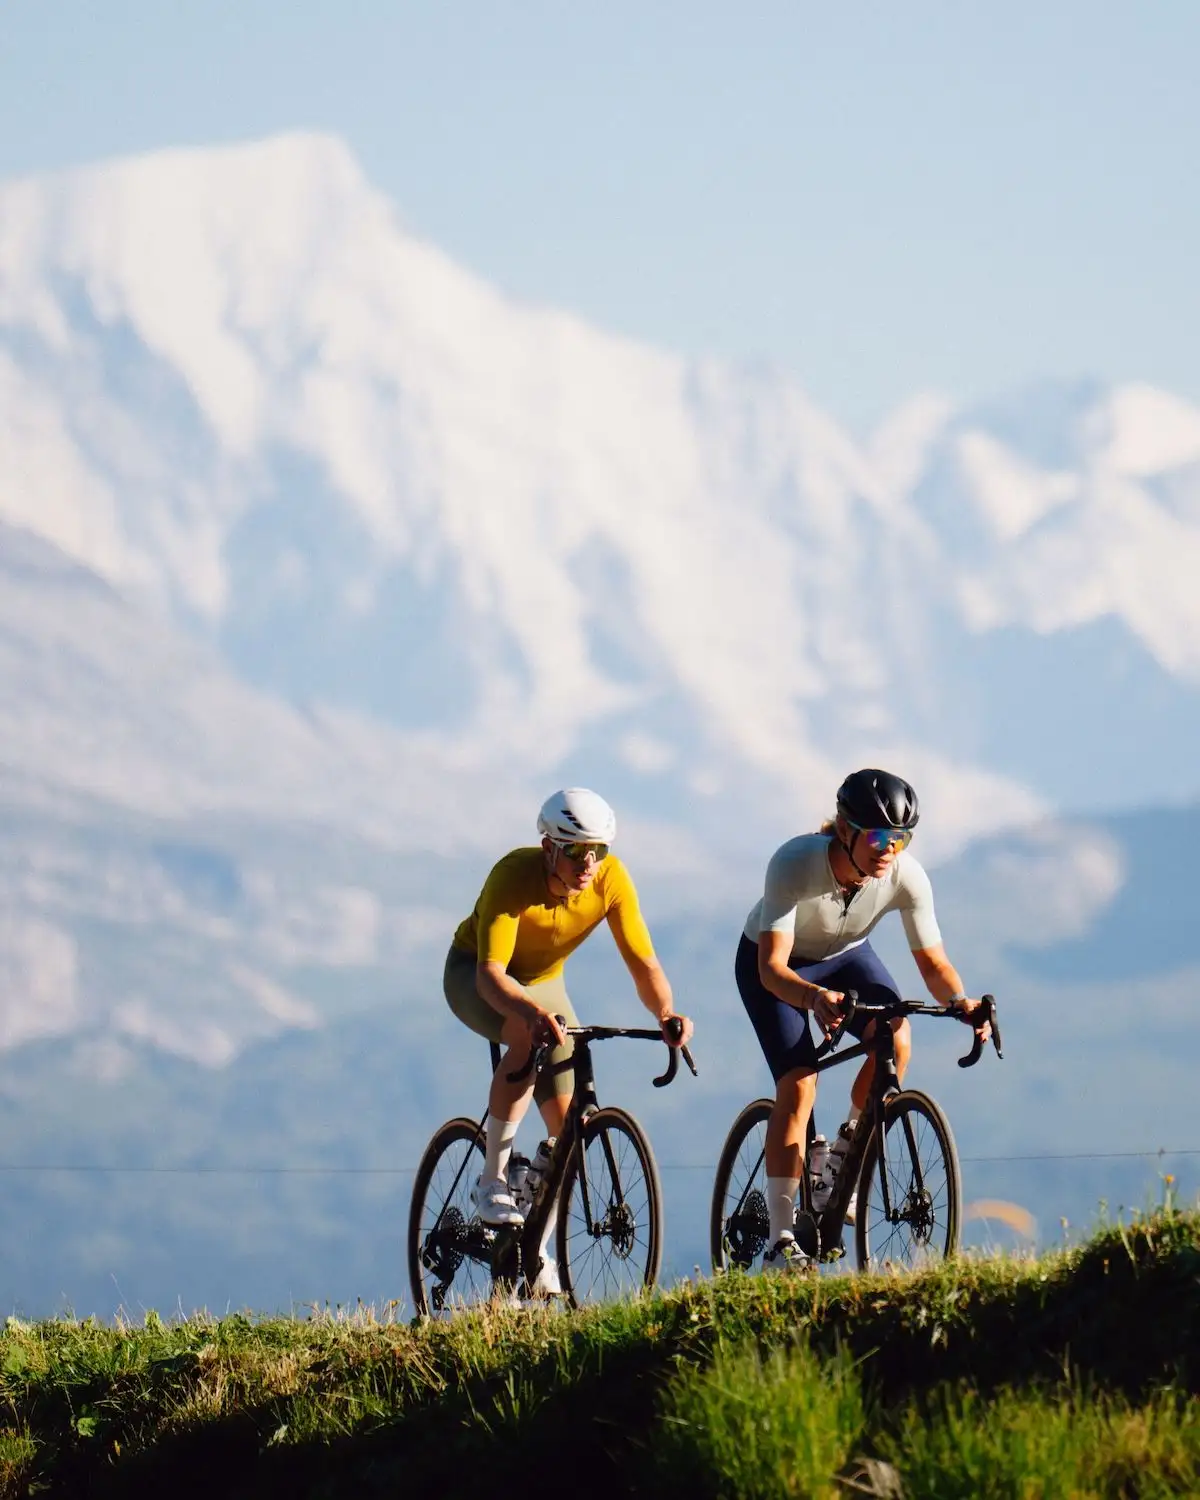
In the entry-level segment, aluminum is the obvious choice for frames. It’s durable, long-lasting, and offers a good balance of weight, stiffness, and price. Above all, however, here’s the key point: for the same total price, you’ll usually get higher-quality components on an aluminum frame than on a carbon bike. Carbon excels in terms of design flexibility and shock absorption, but it’s more susceptible to damage from crashes—and truly high-quality carbon bikes with a solid drivetrain start well above the typical entry-level budget.
More important than the frame material, in any case, is the gear ratio. A compact crankset combined with a generously spaced cassette provides the extra power on climbs that beginners really need. And disc brakes aren’t just standard on modern road bikes—they’re also noticeably easier to modulate in wet conditions.
By the way: A discounted previous-year model from a specialty shop is usually a better choice for beginners than a used bike. When buying used, you need technical knowledge to realistically assess wear and tear on the chain, cassette, brakes, and wheels—otherwise, necessary replacement parts will quickly eat into the price advantage.
Tip 4: Buy only the accessories you really need.
Equipment lists can go on forever. But to get started with road cycling, a manageable set is usually enough—the rest will come with the kilometers. We especially recommend the following equipment for road cycling beginners:
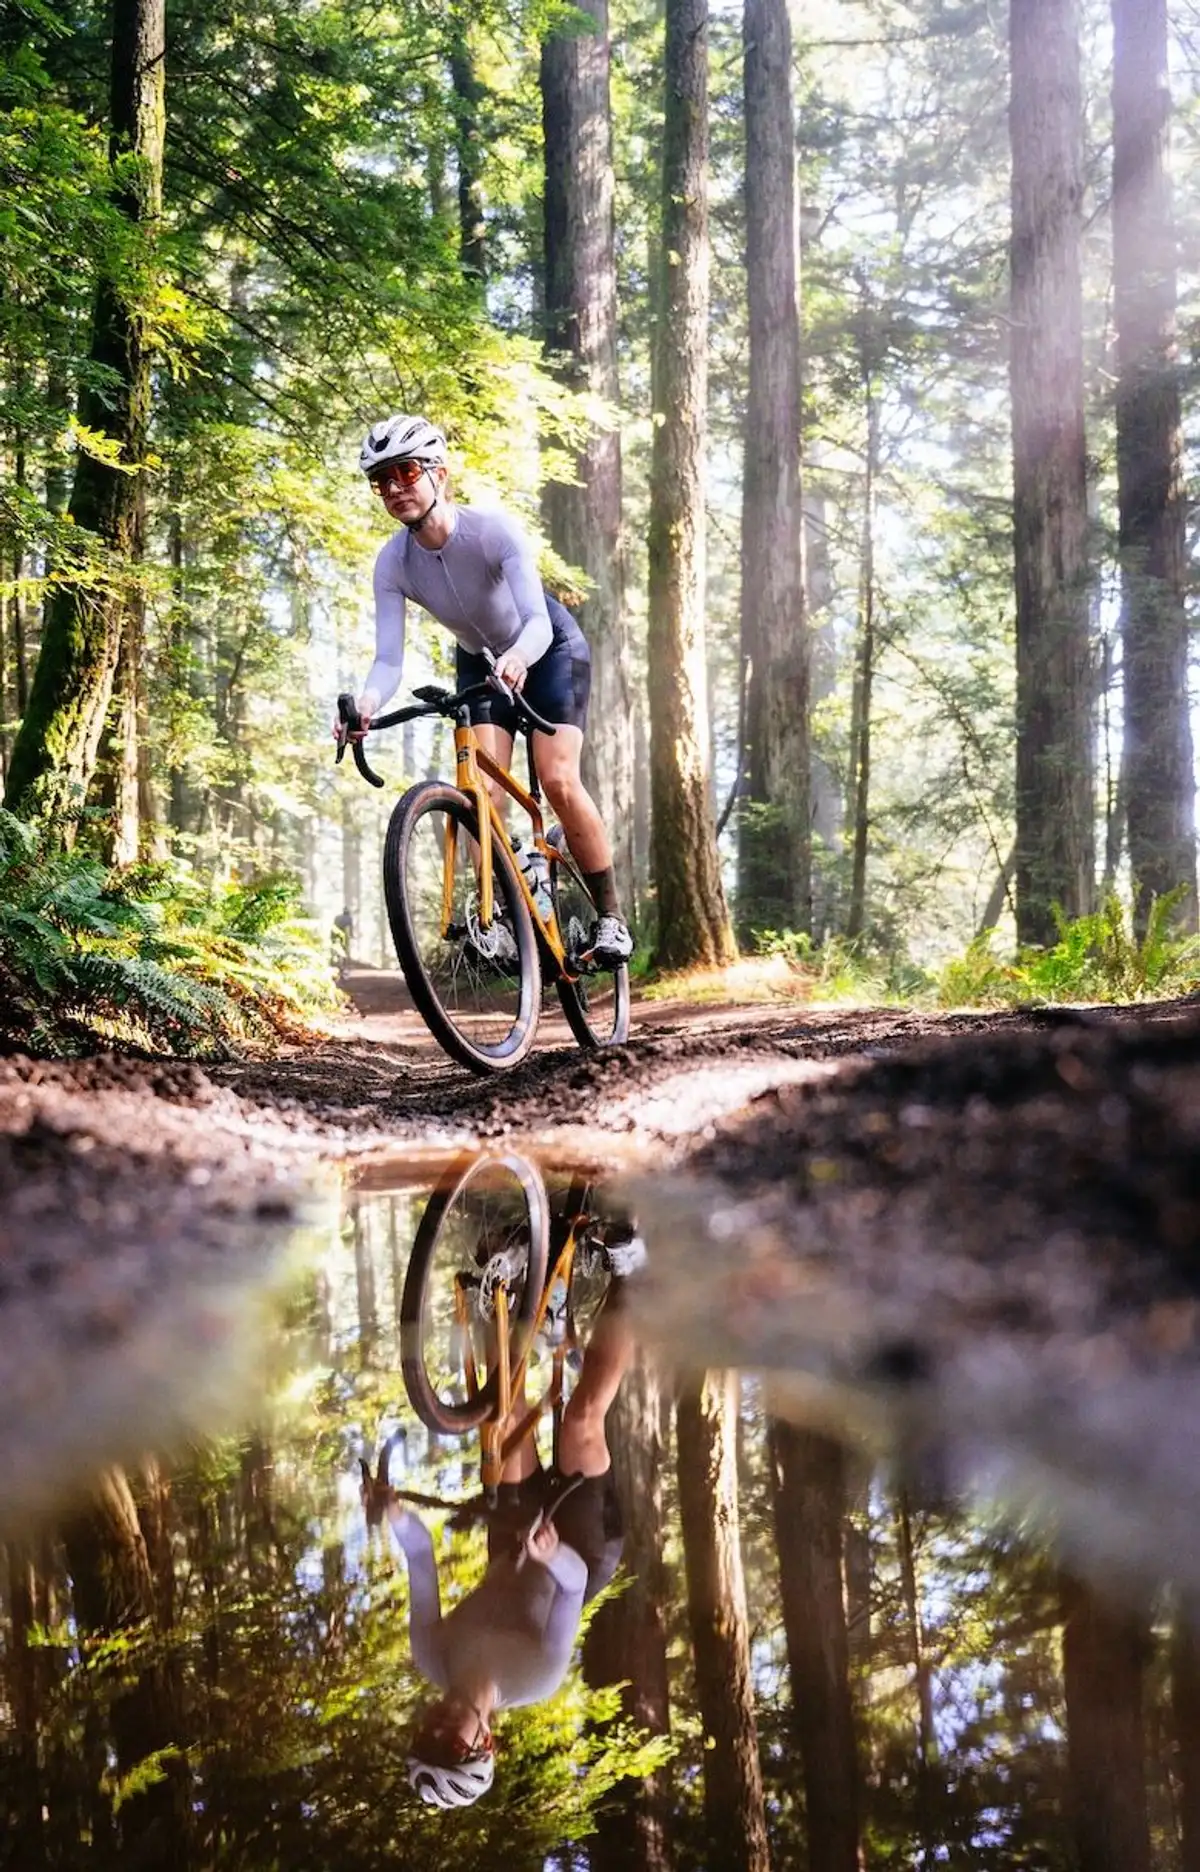
On your body: a helmet, cycling shorts with a padded seat (no underwear underneath), a jersey with back pockets, gloves, and cycling glasses to protect against wind, insects, and flying debris. The classic rule of thumb for road cycling clothing is: as tight as possible, as comfortable as necessary.
On the bike: two bottle cages, a saddle bag, and lights. Road bikes usually come without a built-in lighting system—battery-powered lights are permitted on public roads, and a bell is required.
The puncture repair kit: spare inner tube, tire levers, mini tool, and mini pump or CO₂ cartridge. If you ride tubeless, pack repair plugs as well. Practice changing a tube once at home at your own pace—don’t do it for the first time on the side of the road.
For home: a floor pump with a pressure gauge, as well as chain lube and rags. The right tire pressure and a clean, lubricated chain affect comfort, traction, and wear more than almost any upgrade.
Useful later on: cycling shoes with clipless pedals, a bike computer, a heart rate monitor, arm warmers, and leg warmers for cool days.
Important: You don’t have to use clipless pedals on your very first ride. If you do want to start with clipless pedals, practice clipping in and out while standing still against a wall or on a lawn. Most falls happen when you stop, not while you’re riding.
Road bikes and the StVZO: What are the rules for riding on public roads?
Even a road bike must be roadworthy on public roads. Among other things, the StVZO requires two independent brakes, a bell, front and rear lights, and reflectors on the pedals, wheels, and the front and rear of the bike. The most significant exemption for road bikes: The lights may be powered by a rechargeable battery or regular battery—a permanently installed lighting system with a hub dynamo is not required. However, lights must be carried on the bike and must be attached and turned on during twilight, darkness, or poor visibility. Good to know: The previous special regulation for particularly lightweight road bikes has been eliminated. Anyone riding on public roads should therefore carry a bell, lights, and reflectors—otherwise, they risk receiving fines during traffic stops. Separate regulations apply to competitions and training rides on closed-off routes.
Tip 5: Plan your first rides realistically.
Start by riding loops instead of point-to-point routes: If you choose a loop near where you live, you can take a shortcut at any time. Roads with little traffic are worth a few detours—especially while you’re still getting used to the handlebar tape, brake levers, and new seating position. Here are some additional tips to keep in mind for your first rides:
Be realistic about elevation gain: 60 flat kilometers and 60 kilometers with 900 meters of elevation gain are two completely different rides.
Start into the wind: That way, you’ll have a tailwind for the ride home when your legs are tired.
Bring snacks: Drinking regularly is a must. After about an hour of riding, you should start replenishing your calories. For rides longer than 90 minutes, energy bars or gels definitely belong in your jersey pocket.
Alone or in a group: Riding your first few rides alone helps you get a feel for the bike. For group rides, you should already be comfortable with maintaining a steady pace, using hand signals, and checking over your shoulder.
The most important hand signals for group rides.
In a group, only the person in the lead can see the road - everyone behind relies on hand signals. That’s why you should be familiar with these signals before riding with a group of road cyclists for the first time:
Reach out your arm
Changing direction or turning, just like in normal traffic.
Keep your hand flat facing down, and move it gently up and down
Slow down, take it easy.
Point your open hand backward
Stopping or braking sharply.
Pointing behind one's back (to the left or right)
Obstacle on this side—dodge it.
Pointing downward with your finger
Pothole, storm drain, broken glass, or railroad track at this location.
Call out as additional information
“Car from behind,” “Car from the front,” “Stop,” or “Hole”
Important: Hand signals should be passed back through the group; they shouldn't just be given by the lead rider. If you're riding in the lead, warn the riders behind you of obstacles early enough—they need time to react.
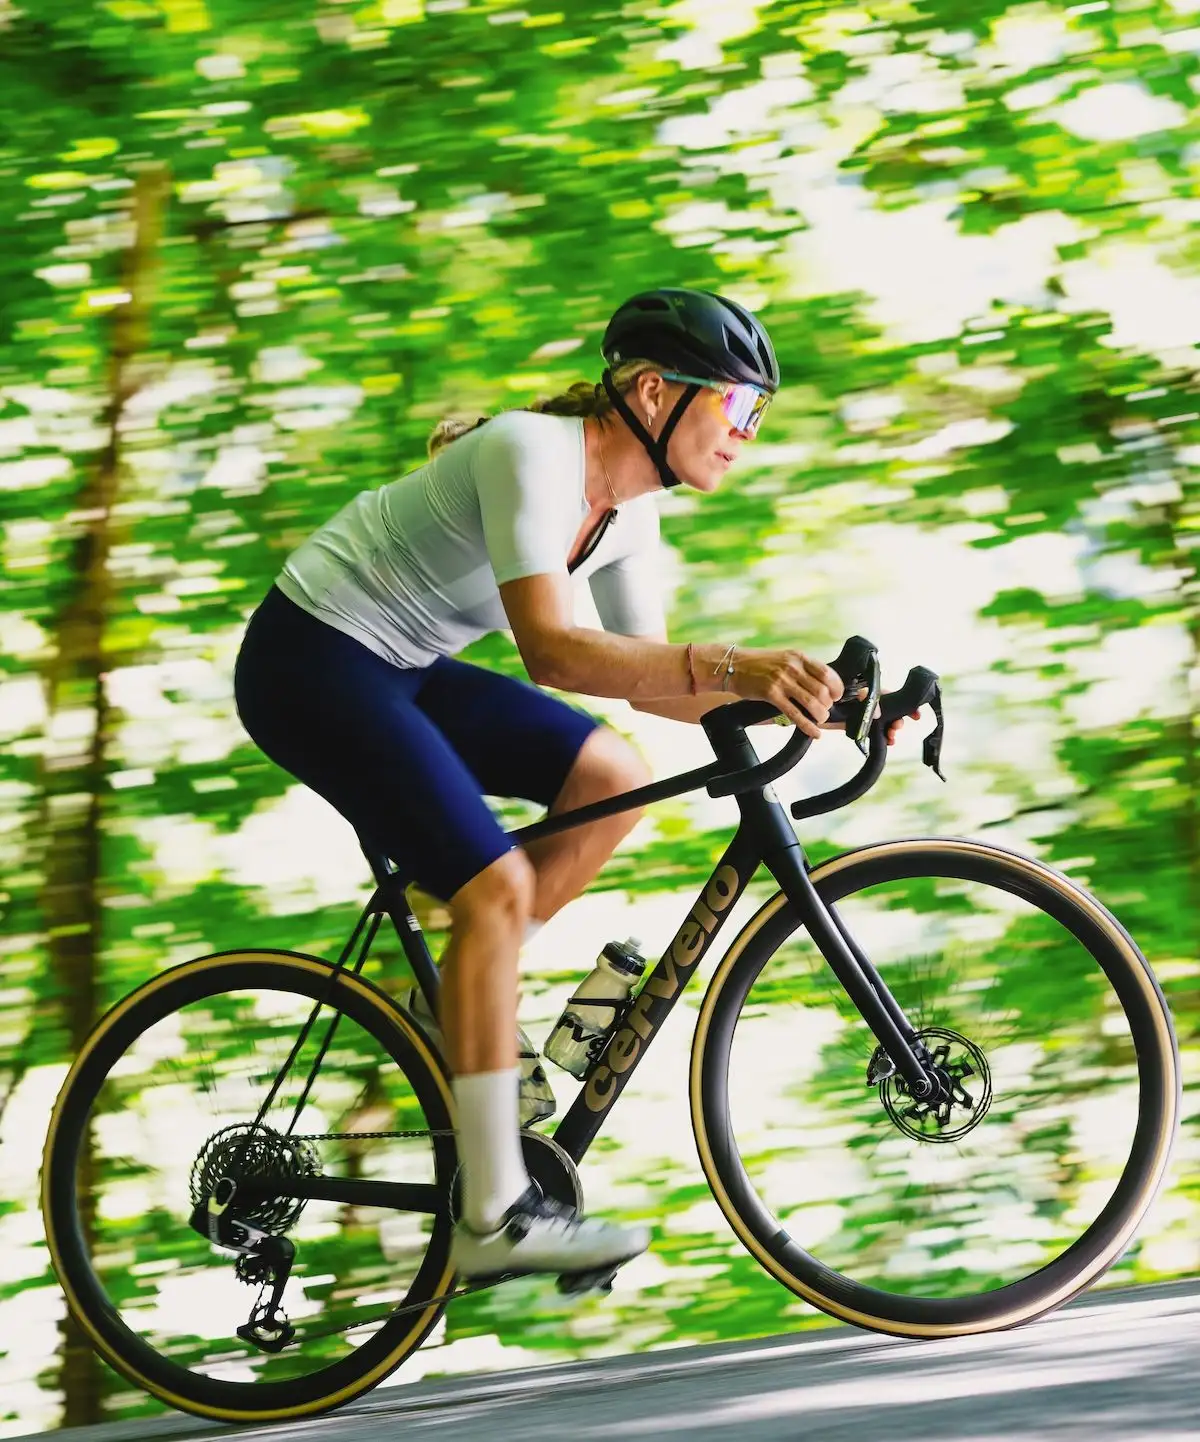
Tip 6: Road bike training for beginners: Regularity over intensity.
In the beginning, the greatest progress comes from consistency, not intensity. Two to three sessions per week over several months are more effective than one hard week followed by a forced break. Most of your rides should be at a basic intensity: easy enough that you could still hold a conversation.
First volume, then intensity: Increase your duration and distance in small steps before incorporating intervals. At the beginning, your average speed is the least important number on the display.
Practice your cadence: A cadence of 80 to 90 revolutions per minute is easy on the joints and helps you develop a smooth pedaling motion. Even on hills, it’s better to shift down a gear than to “struggle” at 50 revolutions.
Practice your riding technique: Braking with your hands on the lower part of the handlebars, looking ahead through the curve, drinking while riding—you can only learn all of this through repetition. It’s best to practice on quiet roads.
Good to know: Recovery is part of your training. Sleep, rest days, and adequate nutrition determine whether your efforts actually translate into progress. So be sure to schedule enough recovery periods after your workouts.
Tip 7: Lease a road bike as a company bike.
With an employee bike leasing program, you can lease a road bike just as easily as a city bike, gravel bike, or cargo bike. The requirements are that your employer offers the model and that you are employed in a position subject to social security contributions—minijobs are generally not eligible. The lease payment is typically deducted from your gross salary through a salary conversion arrangement. Personal use is taxed at only 0.25 percent of the list price per month.
For more information on company bike leasing, see, for example, the article “Company Bike Leasing - What is it?”
The best way to figure out the monthly payment and savings for the bike of your choice is to use our leasing calculator to do the math yourself.
In practice, you choose the bike you want at a participating retailer, where you’ll also receive advice on frame size and riding position, and your employer will sign the lease agreement. The lease term is generally 36 months. After that, you can purchase the bike, return it, or use the order code to lease a new one right away.
For road cyclists, Lease a Bike’s comprehensive coverage is particularly relevant: In addition to theft and damage coverage, it includes a Europe-wide mobility guarantee as well as annual budgets for inspections and wear-and-tear parts. Otherwise, chains, cassettes, tires, and brake pads can really add up if you ride a lot each year.
Conclusion.
Getting started with road biking is easier than you might think.
Our seven tips show that getting started with road cycling rarely fails because of the equipment and almost never because of the training plan. It fails because of a frame that’s too big, rides that are too long and too hard right from the start, and gear that’s purchased before it’s clear what it’s needed for. If, instead, you choose a road bike that fits you well, take the time to find the right frame size and seating position, and deliberately take it easy during the first few weeks, you’ll have laid the most important groundwork.
Everything else will fall into place as you rack up the kilometers: your riding technique will become more confident, your rides will get longer, and eventually you’ll know for yourself whether you’re more drawn to a cycling marathon, an after-work ride, or a gravel trail. Only then is it worth considering lighter wheels, a second bike, or structured training plans.
Checklist: Ready for your first road biking season?
Do I know what I’ll mainly be using the bike for (touring, exercise, commuting, gravel riding)?
Have I had the frame size and seating position checked at a specialty bike shop?
Does the gear ratio suit the terrain - or will the first climb be a struggle?
Do I have a helmet, cycling shorts, jersey, gloves, and glasses?
Do I have a spare inner tube, tire levers, a mini-tool, and a pump with me?
Do I know how to change an inner tube?
Are lights and a bell installed for road use?
Is my first ride a loop with an option to turn back, rather than a one-way route?
Am I planning two to three easy rides per week instead of one hard one?
Does my employer offer a company bike leasing program - and have I calculated the monthly payments?